 Recently, we installed a home cinema system featuring two displays in the same room, a LCD projector and a LCD flat screen TV, both fed from an AV receiver with main and Zone 2 HDMI outputs. In setting out to program the Harmony Ultimate remote to control the system, we encountered a number of potential 'banana skins' which I thought you AV enthusiasts might benefit from knowing about, should you decide to get your own Harmony Ultimate.
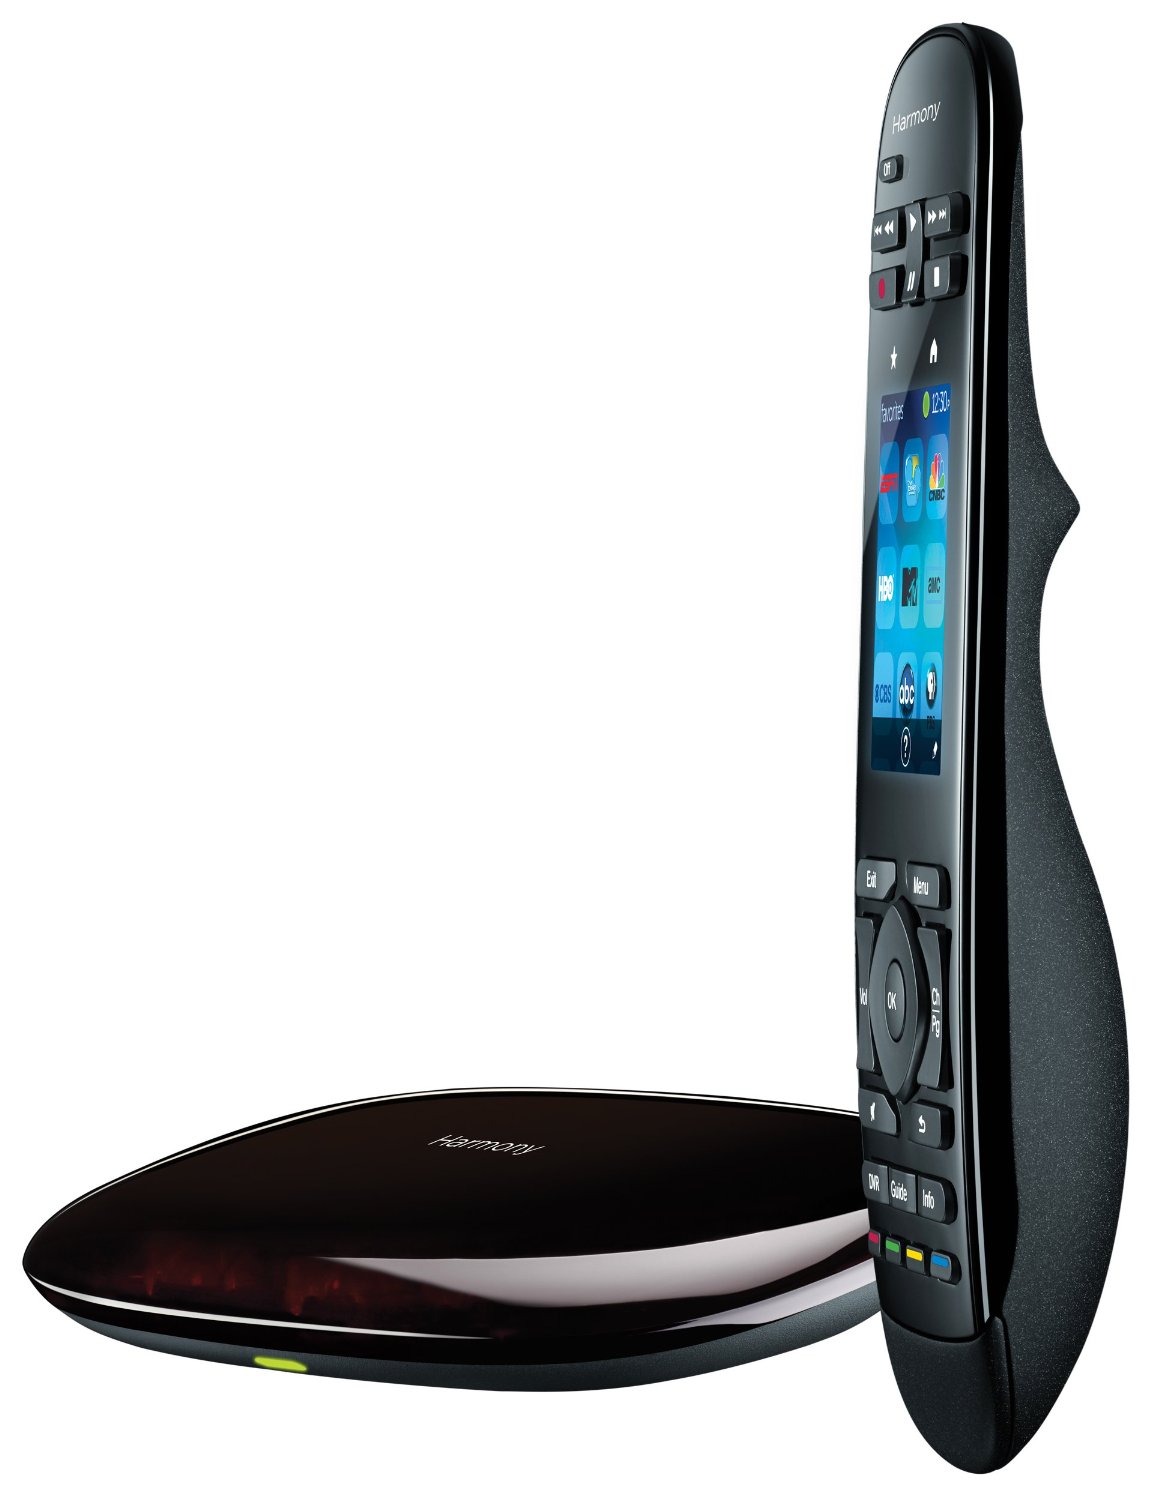
First thing to say is that the Harmony Ultimate is a superb remote control for the money - currently £229 but like most products, a quick check in Google shopping will reveal some bargains to be had - just make sure the wifi-Hub is supplied with the remote, as it is also available separately.
First thing to do as with most re-chargeable devices is to connect the supplied dc power supply to the remote docking unit and charge the remote until 'fully charged' is displayed on it's lcd screen. Now connect the hub to the mains power supply, and the Harmony remote to the USB socket on your PC, and run the myHarmony software which is available as a download.
It is likely that a firmware update will automatically occur when your hub and remote are connected to your PC.
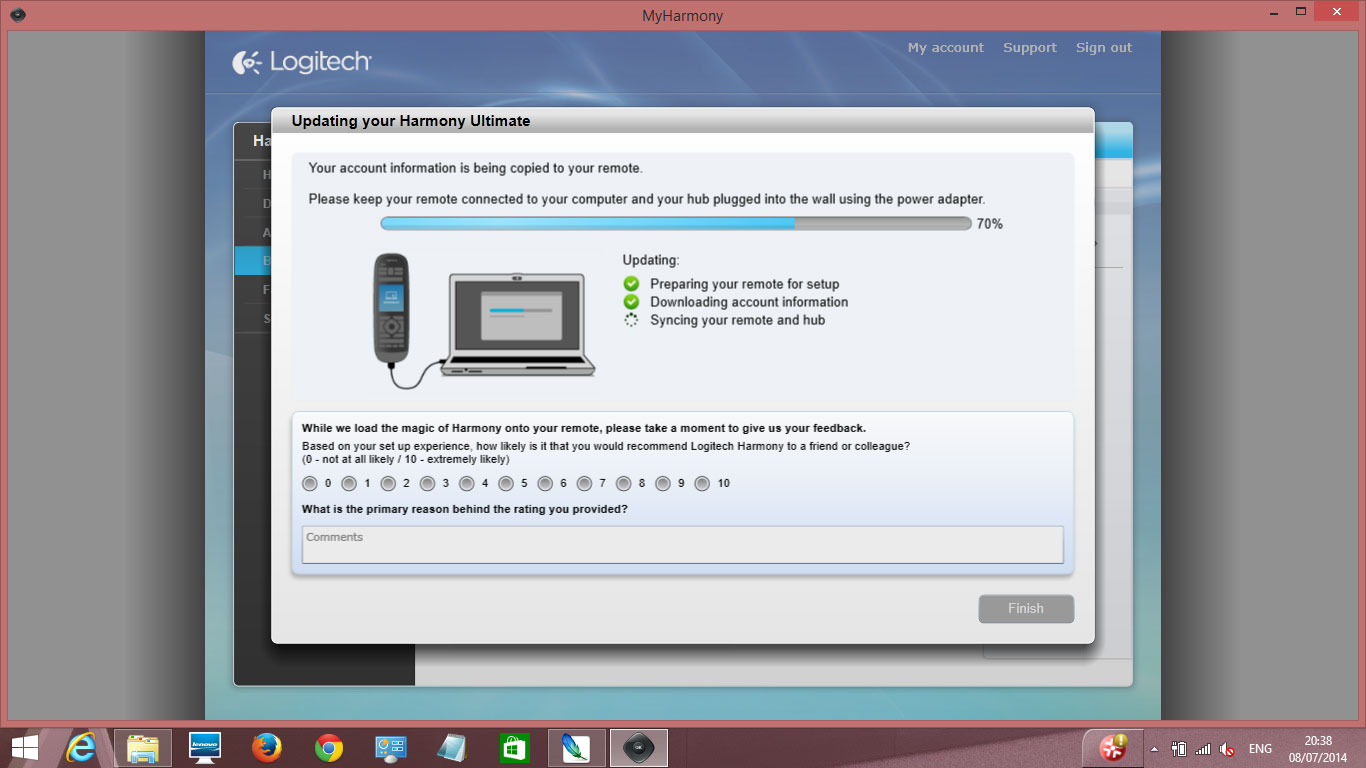
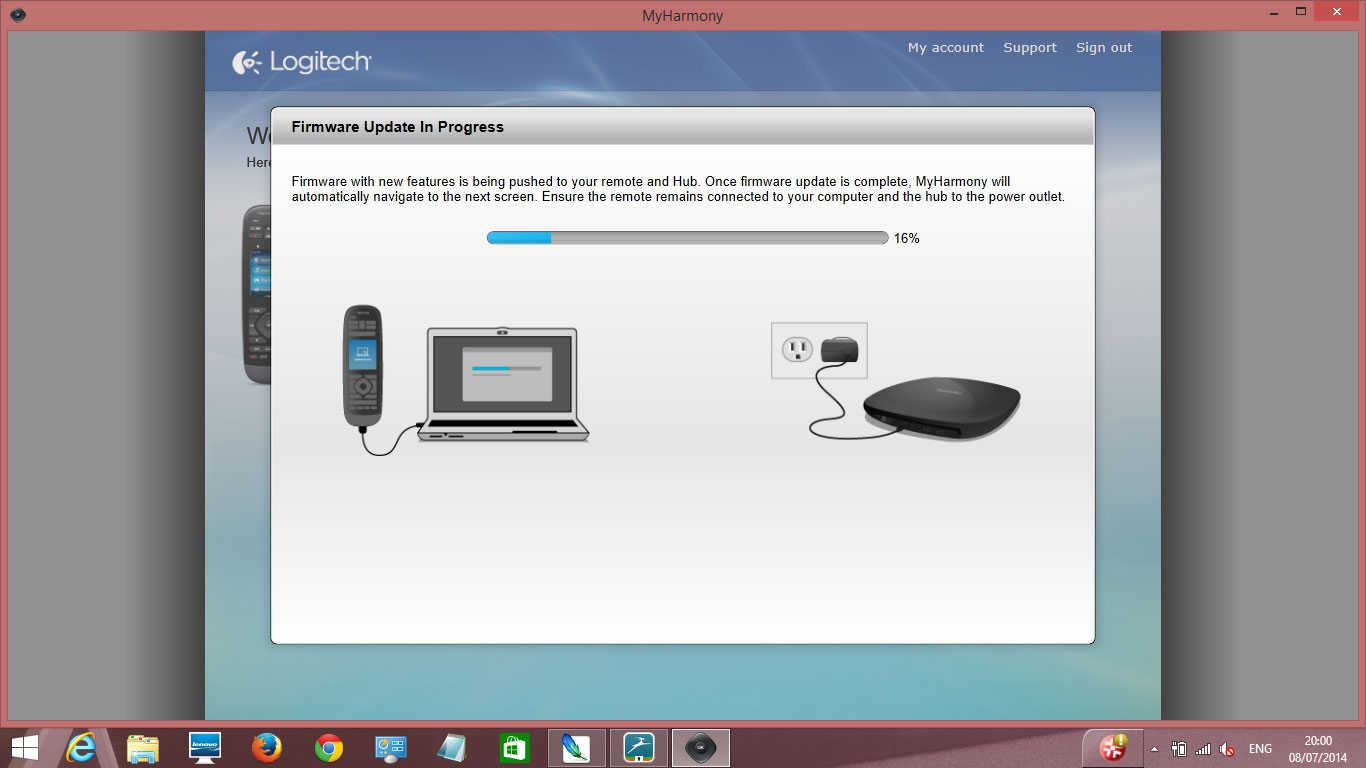 Firmware update
The firmware update ensures that you are using the latest, bug fixed software - this is a good thing! Next job is to let the hub connect to your broadband network - just enter the password and the hub will join your network quickly.
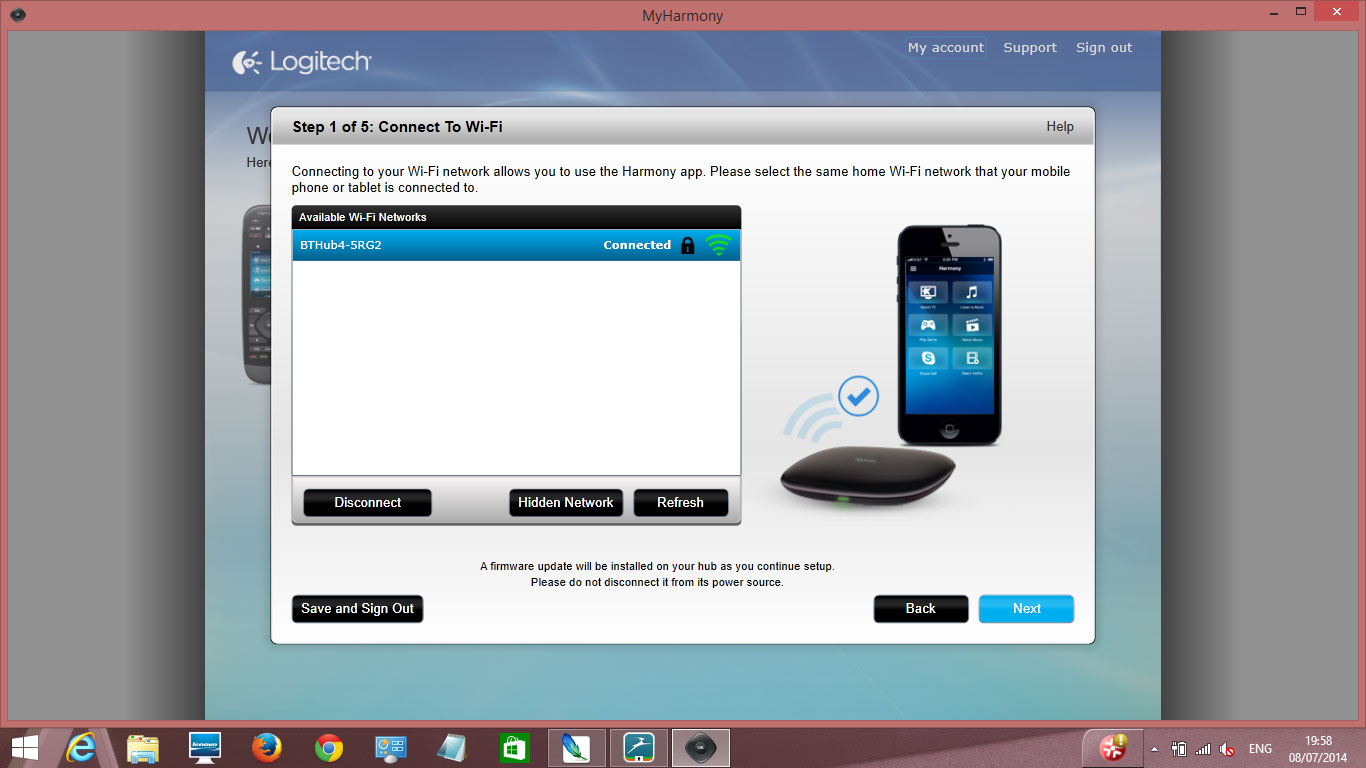 harmony_hub_connected
Next you'll be prompted to name your Harmony hub - call it something memorable/ relevant :-)
 Name your hub
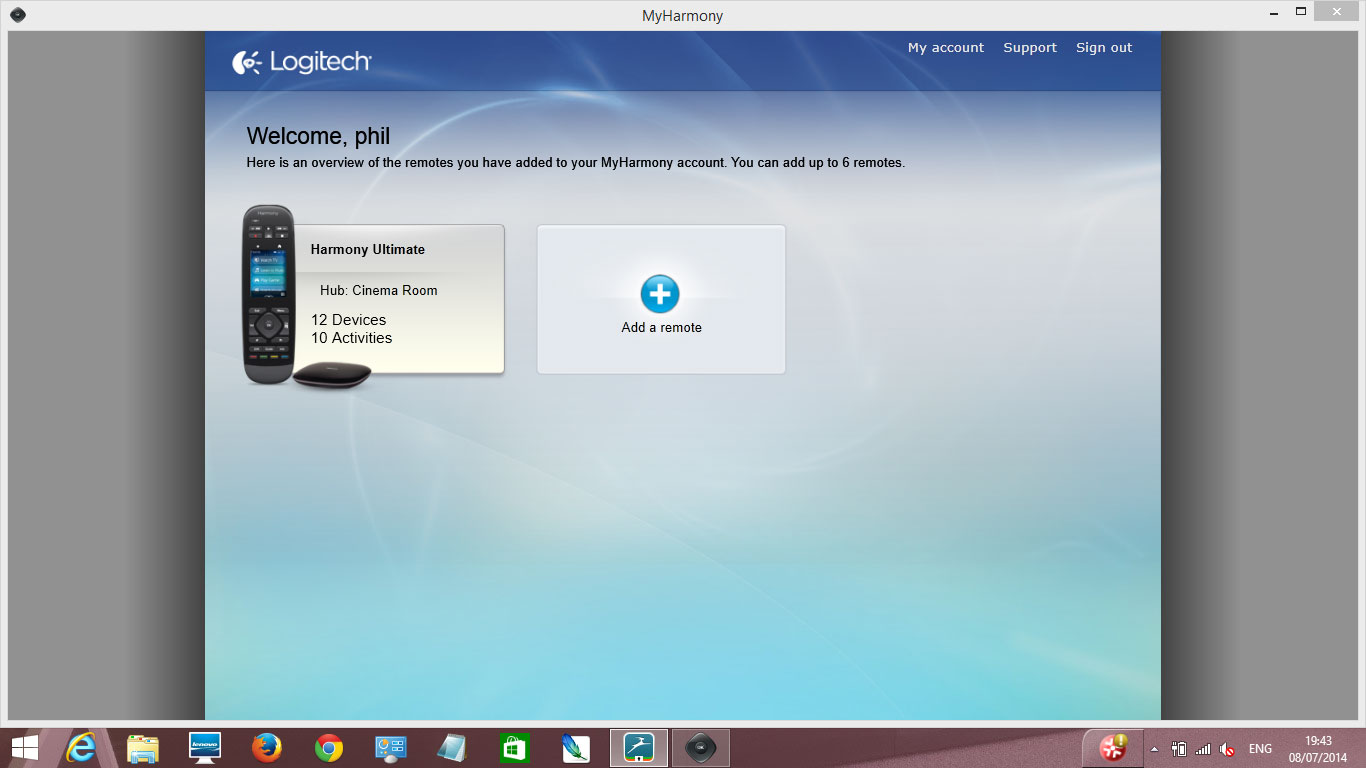
Now you will see the next screen which lists all of the Harmony remotes you have programmed so far, detailing the number of devices controlled and the activities programmed per remote - this is useful if you install the same AV system repeatedly.
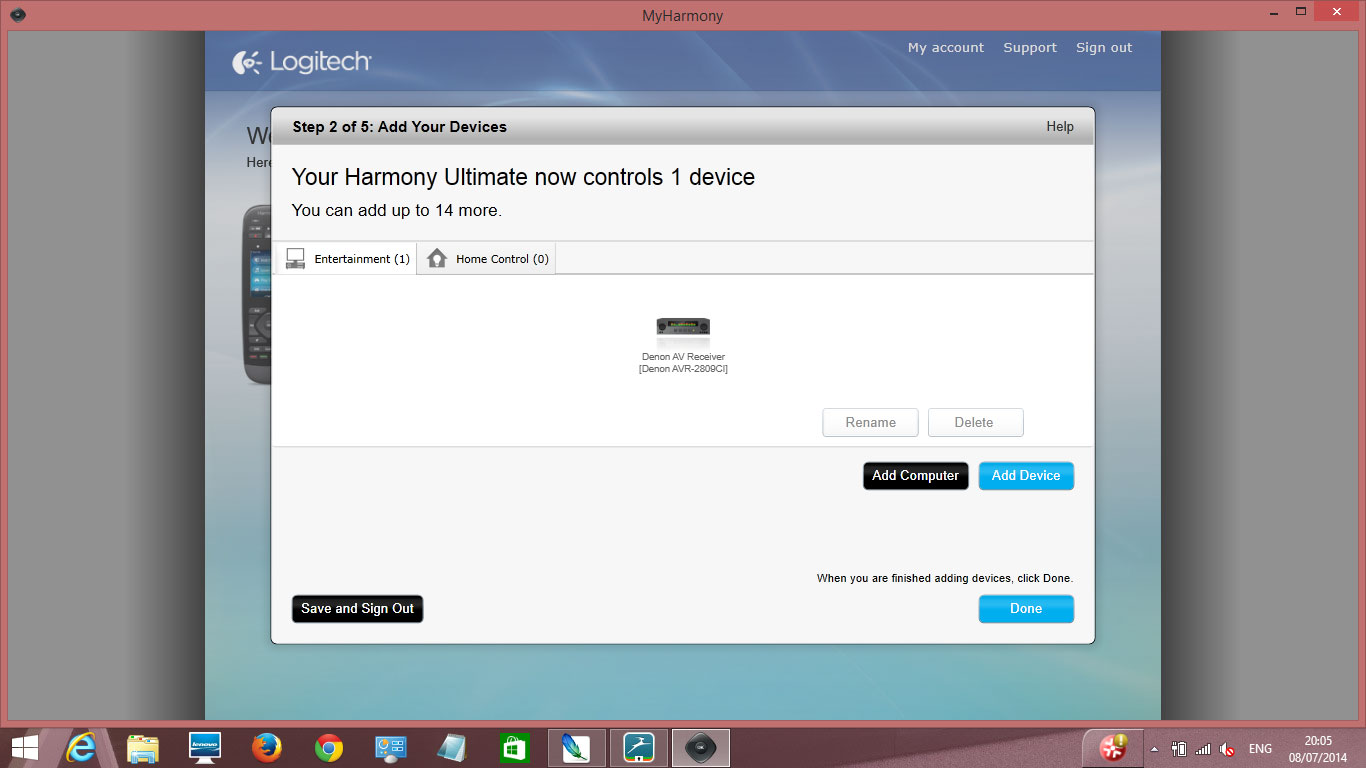
Now you need to enter your AV/ audio devices one after the other - you'll almost always find them in the existing Harmony database of products. Enter them one by one, going from sources to AV Receiver to TV/ Projector and any other devices you may want to control such as curtains, lights, heating/ air conditioning etc.
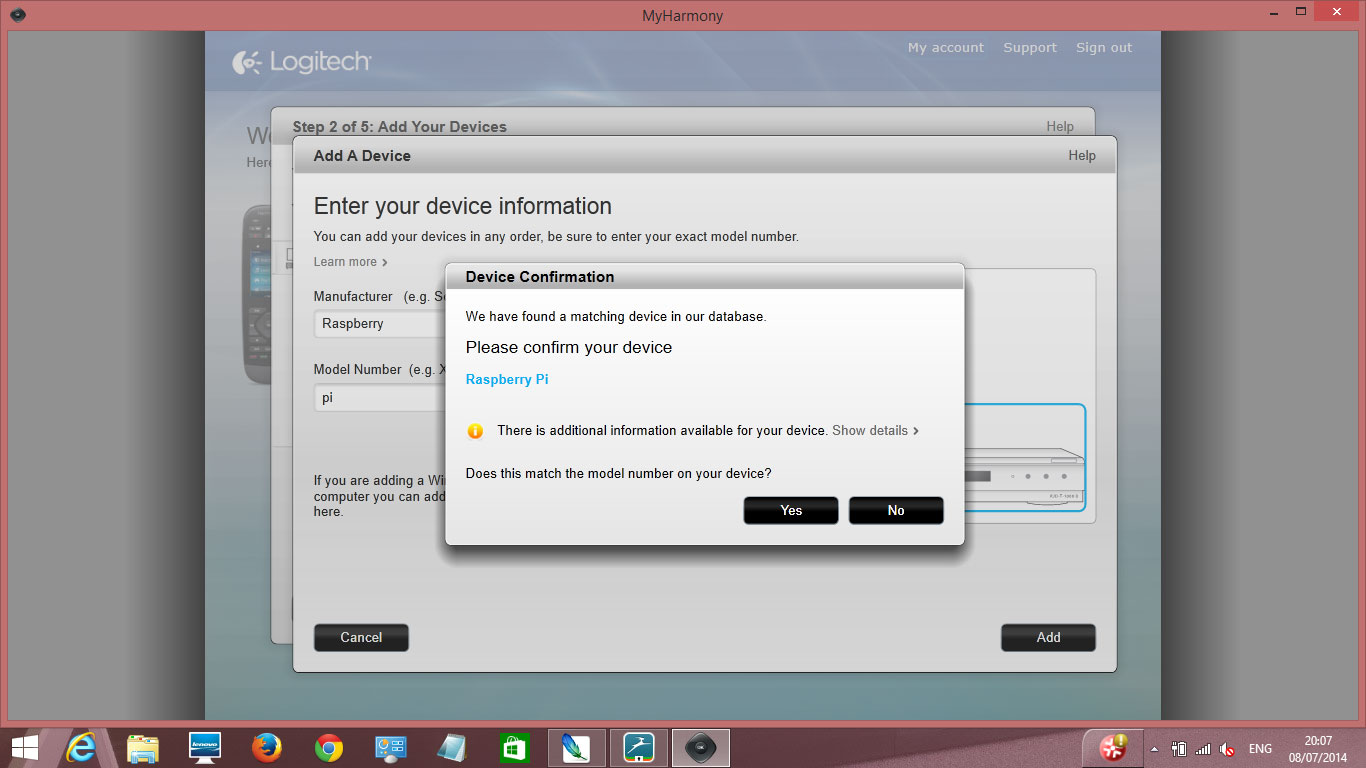
Here I am adding a raspberry Pi computer which is used as a Home Cinema PC with XBMC.
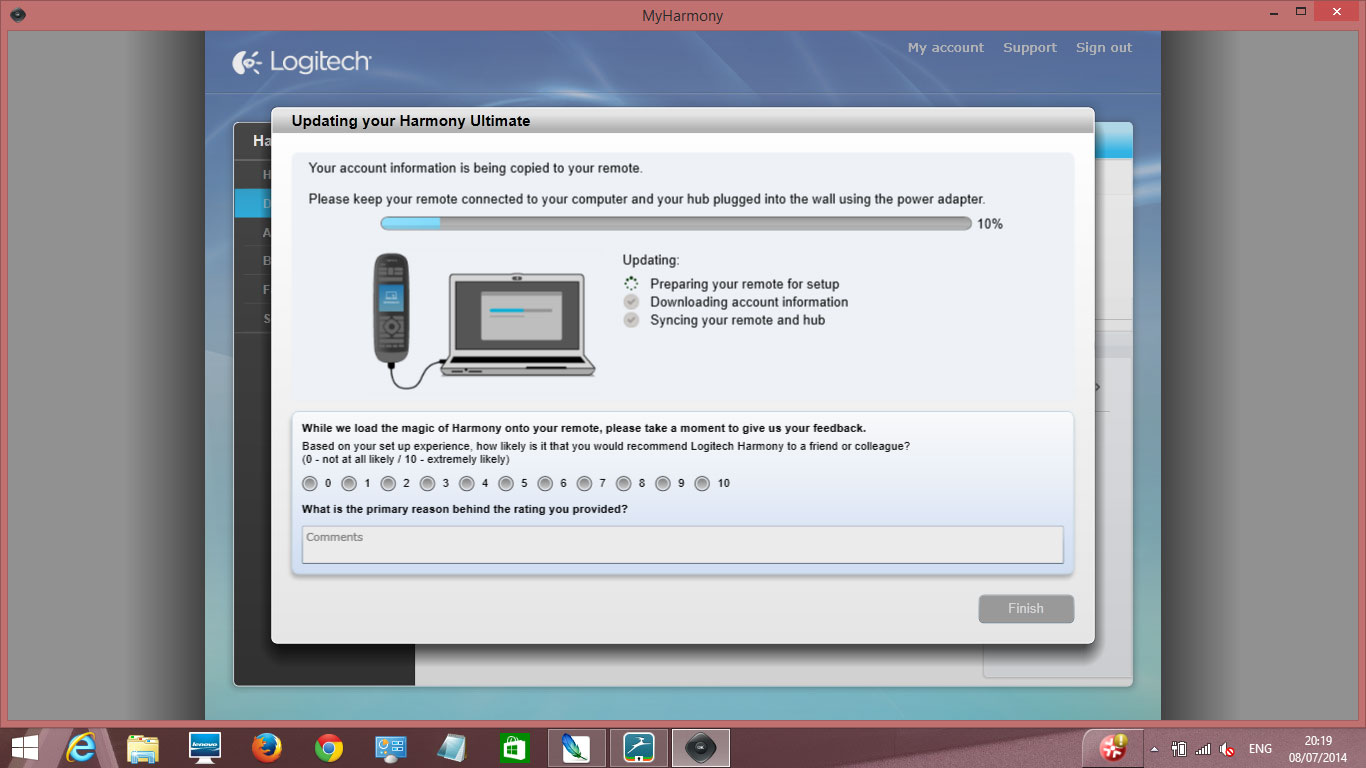
All of the information you have entered is now copied to the Harmony One remote (connect via the USB cable to your PC).
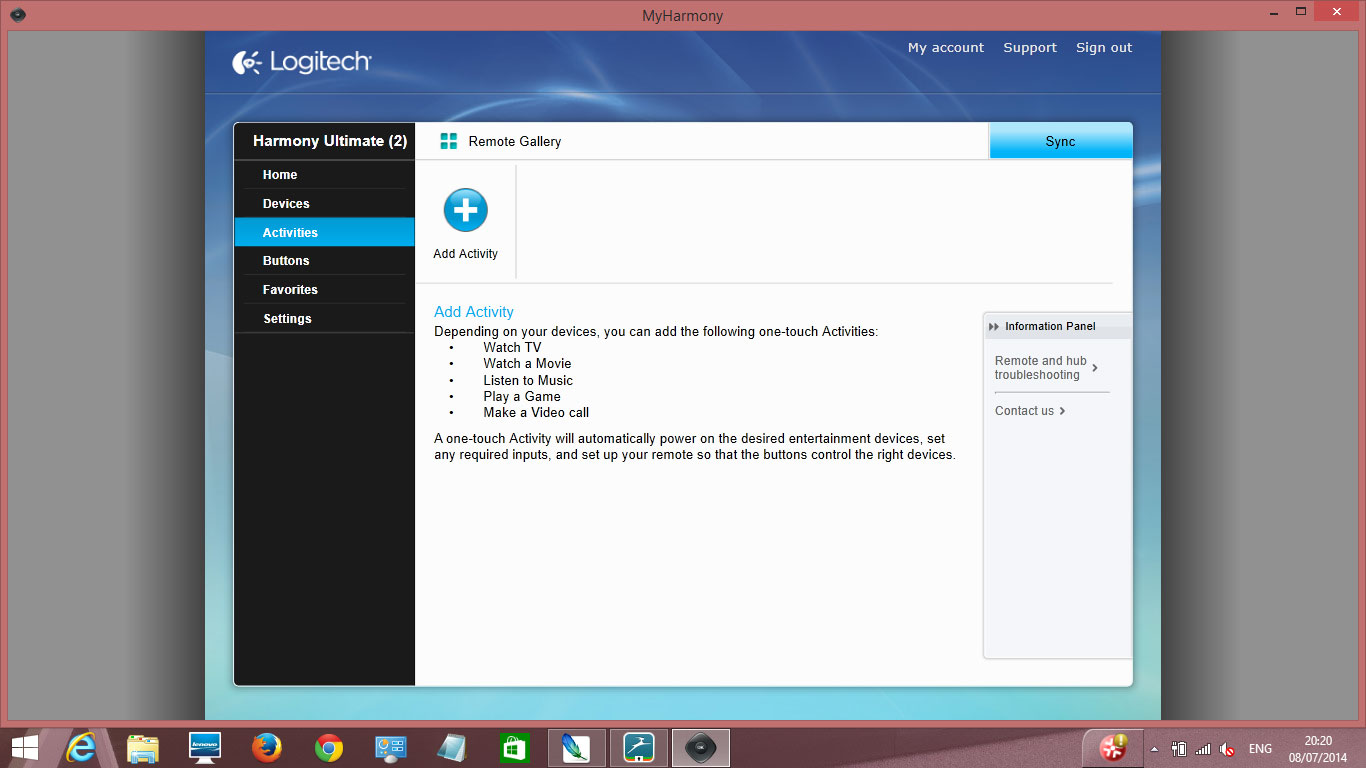
Now that you have added all of your AV devices, it's time to tell them what to do - in other words coordinate the activities such as 'watch TV', 'watch Blu-ray', or 'listen to Sonos'. To do this you select the source device, then the hub device the source is connected to (usually an AV receiver) and then the output device (a TV or projector). You also have to tell the software which inputs on the AV receiver the sources are connected to, and also the input the TV/ Projector is needed to view the output of the AV receiver.
Once the activities are programmed, you need to sync the software with the Harmony hub and remote control, using the USB cable supplied.
Your Harmony Ultimate remote is now ready to control your AV system - you might need to make a few changes having tested out the remote, the main ones we found are:-
1. Turning on HDMI control on all of your HDMI devices - this is useful if your system does not select the correct input when expected.
2. If your AV receiver has a main HDMI output and a Zone 2 HDMI output, when selecting devices you need to fine both the standard and Zone 2 library model eg Marantz SR6008 and Marantz SR6008 Zone 2.