


We're absolutely astounded by the depth and clarity that this little box can push out, although not surprised that Naim were the masterminds behind its conception. We've got ours up and running and have compiled this little step-by-step guide to help make the relatively easy process just that little bit easier. Purchase one here!
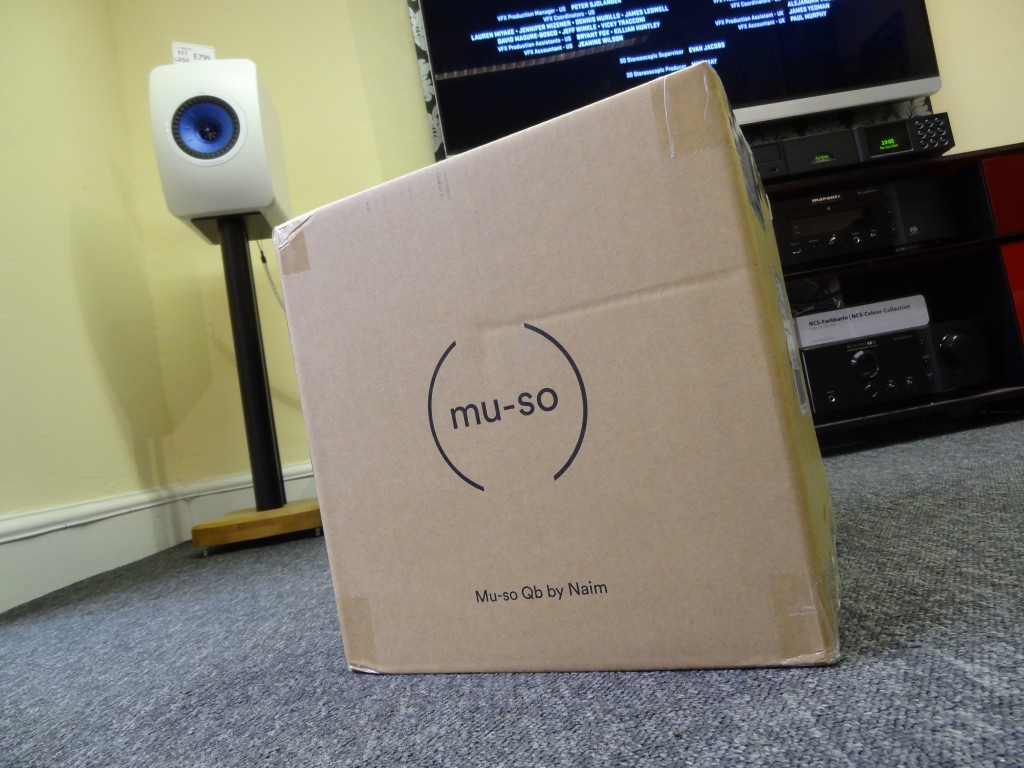
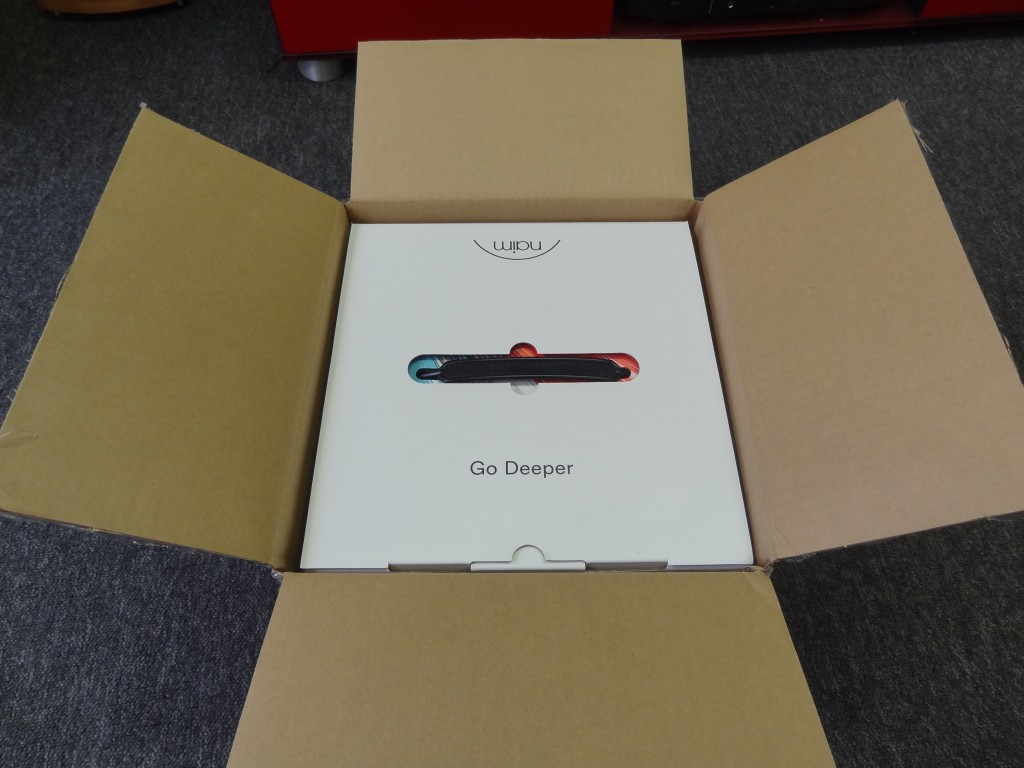
The Muso Qb features all the musical prowess and robust build quality that one would expect from any Naim product. It's beautifully presented, right from opening the box, with the company's 'Go Deeper' Muso slogan.
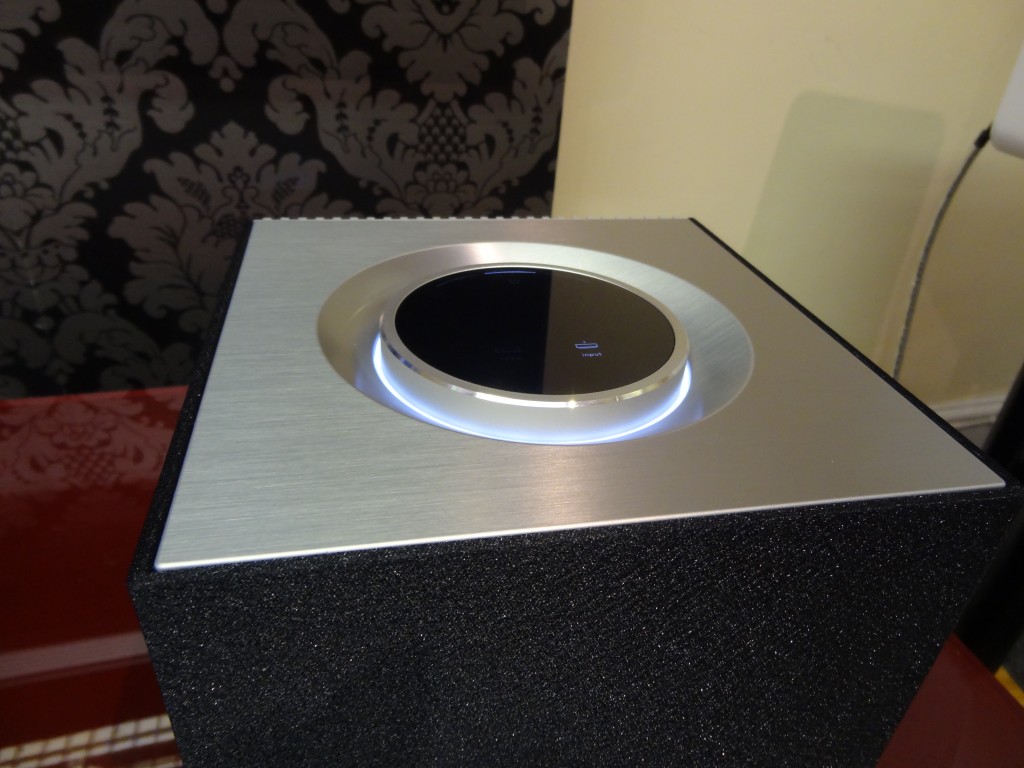
Once the Qb is unboxed and put into position, simply plug it in using the supplied figure-of-eight mains lead and wait for the display to finish spinning. Once it has, you'll be greeted with a backlit 'Input' button and spinning the dial round will result in a volume adjustment indication.
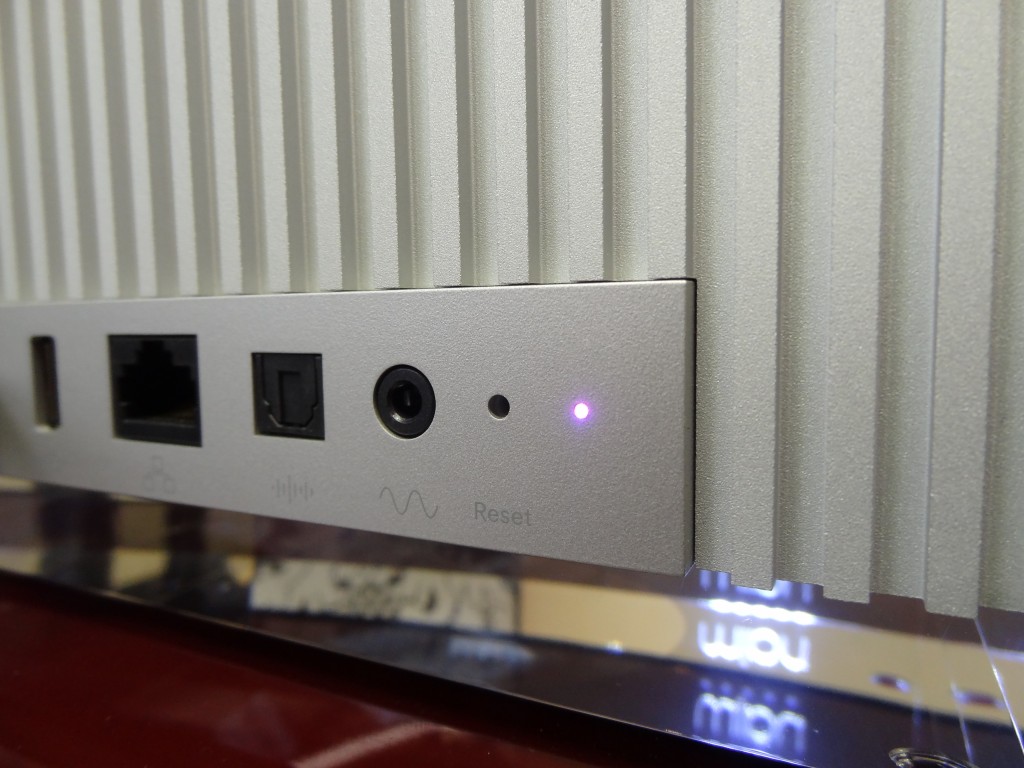
Turn the unit around and you'll see a purple flashing status indicator. This means that your Muso Qb is loading up and preparing itself. Once this light turns to a solid purple, it's ready to be added to your wifi network.
Now the Muso Qb is ready to be set up to your network. fetch your device and make sure you have the free-to-download Naim app from the App or Google Play Store. We're using the iPhone/iPad app for this walk-through. The app is highly intuitive and provides on-screen instructions on setting up a new Muso and integrating your device into an existing Muso system.
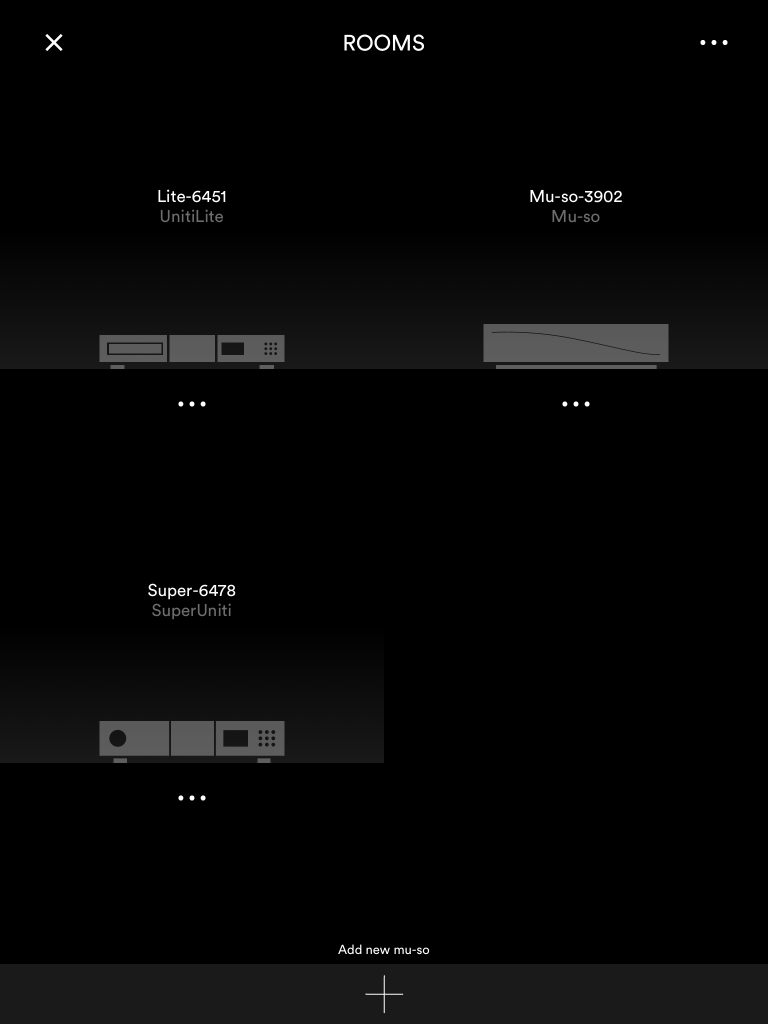
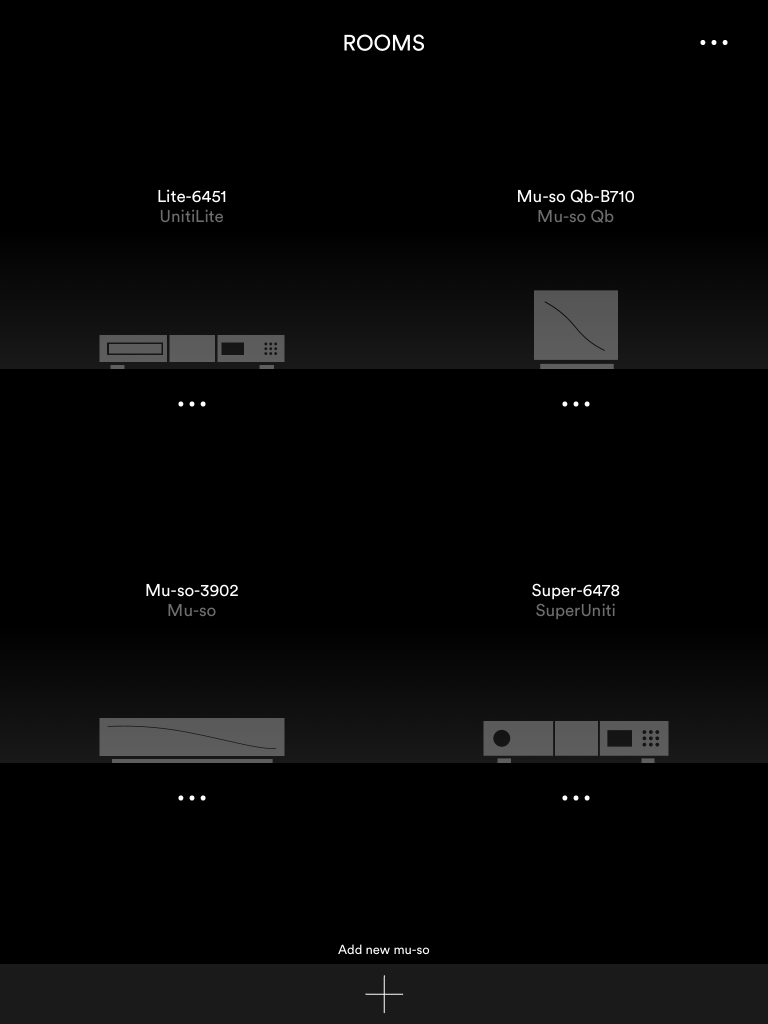
Select 'Add new mu-so' from the bottom of the screen and cycle through the option until you're advised to go to the settings menu.
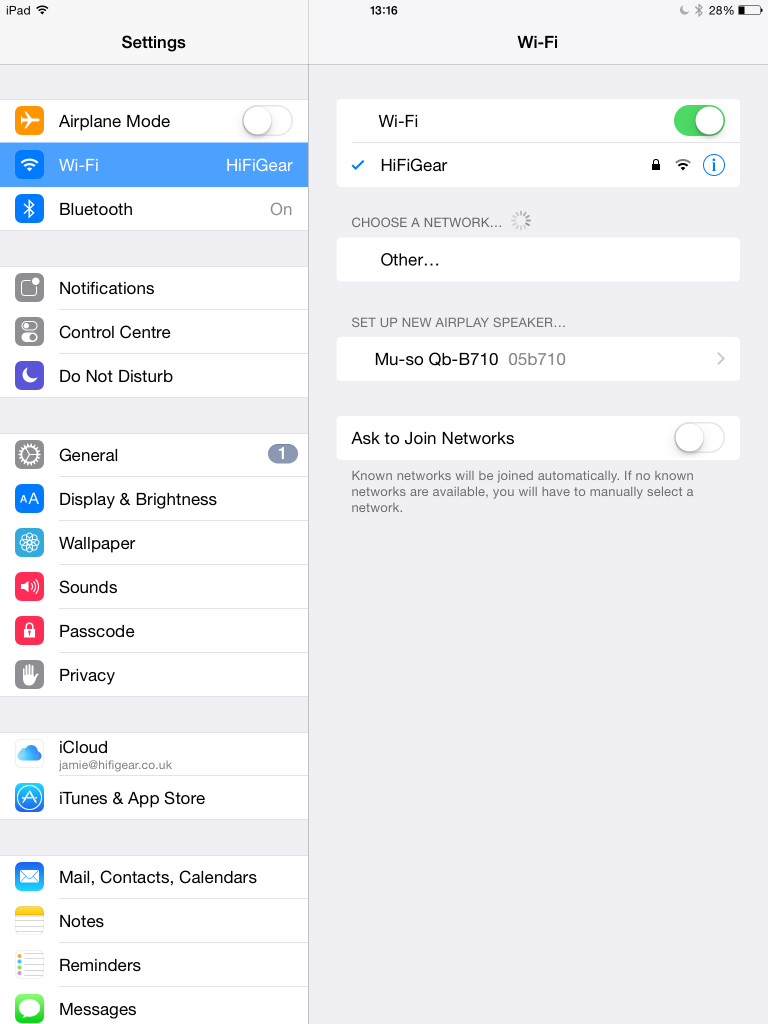
do this by simply pressing the home button on your iPhone/iPod/iPad and selecting your 'Settings' icon. In the 'WiFi' category you'll see an option to 'Set Up New AirPlay Speaker', with the Muso Qb in the field.
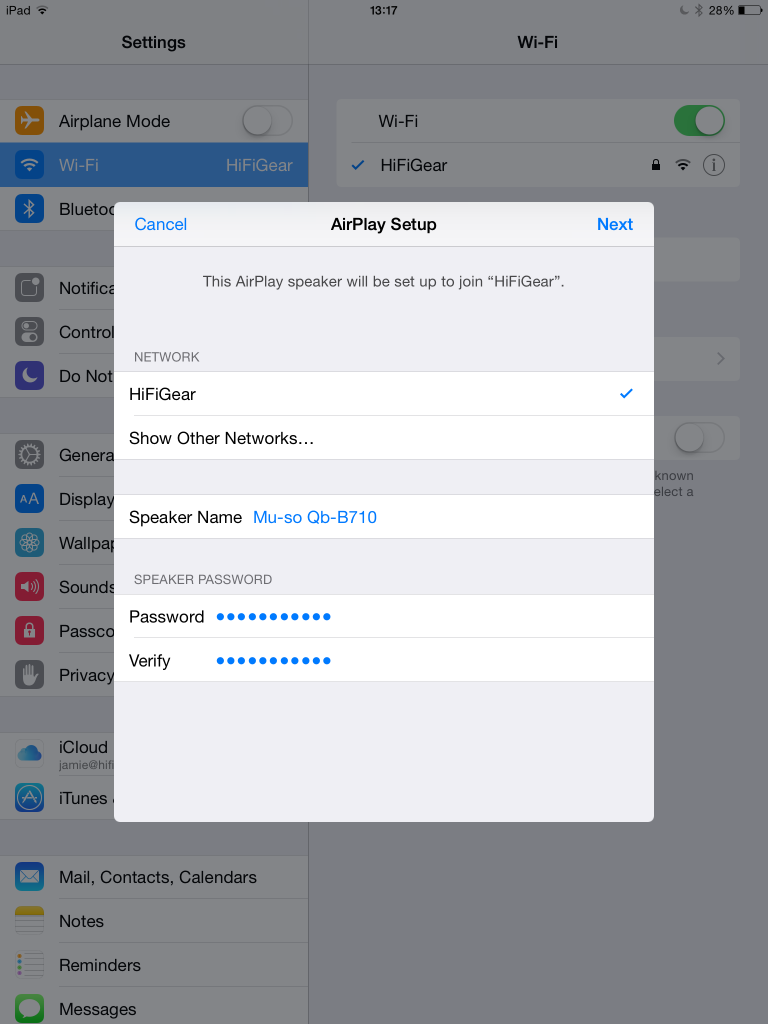
Select the Muso Qb from this menu and the device will ask you to verify your wifi password in order to add the speaker. Unless you use a custom password, this can be found on the bottom of your internet router or in the form of a pull-out card on the router itself. Make sure you have the right network and password filled in before pressing 'Next'.
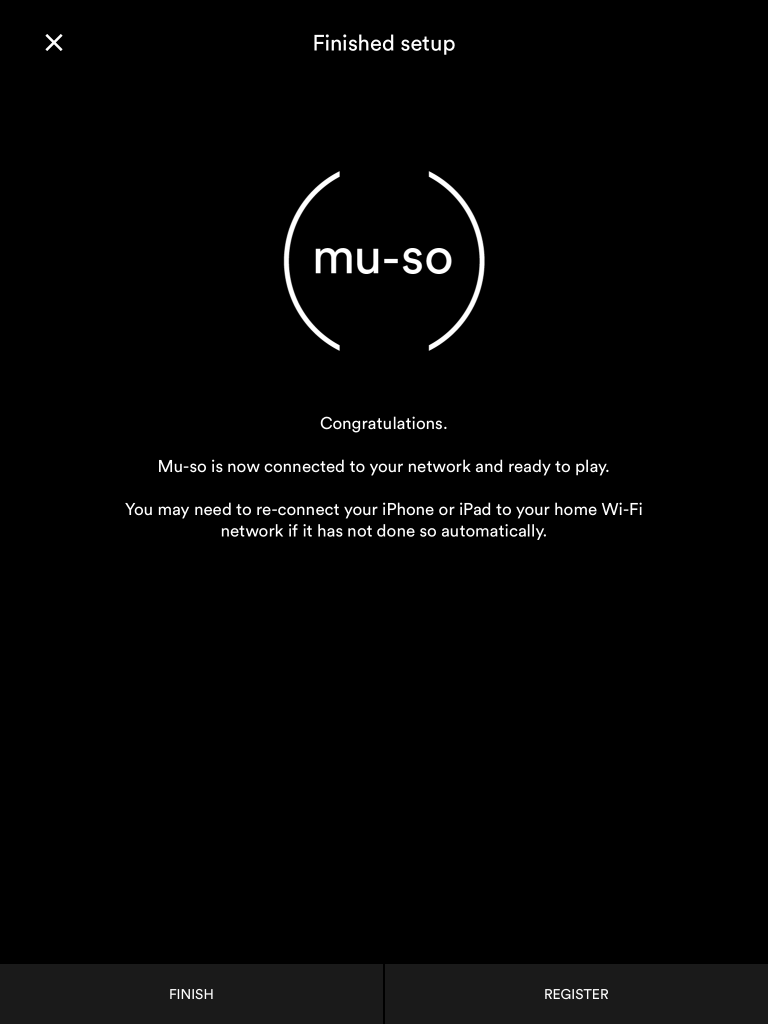
At this point, return to the Naim app and you'll be greeted by a page that indicated your Muso Qb is now on the network and ready for wifi playback, whether that be via AirPlay, UPnP, iRadio, Tidal and more. Press Finish and you'll see the Muso Qb in the list of available Naim network-enabled systems.
The App can then be used to control the Muso Qb in regards to input selection, volume, Tidal/NAS drive music selection, aptX Bluetooth functions and internet radio selection.
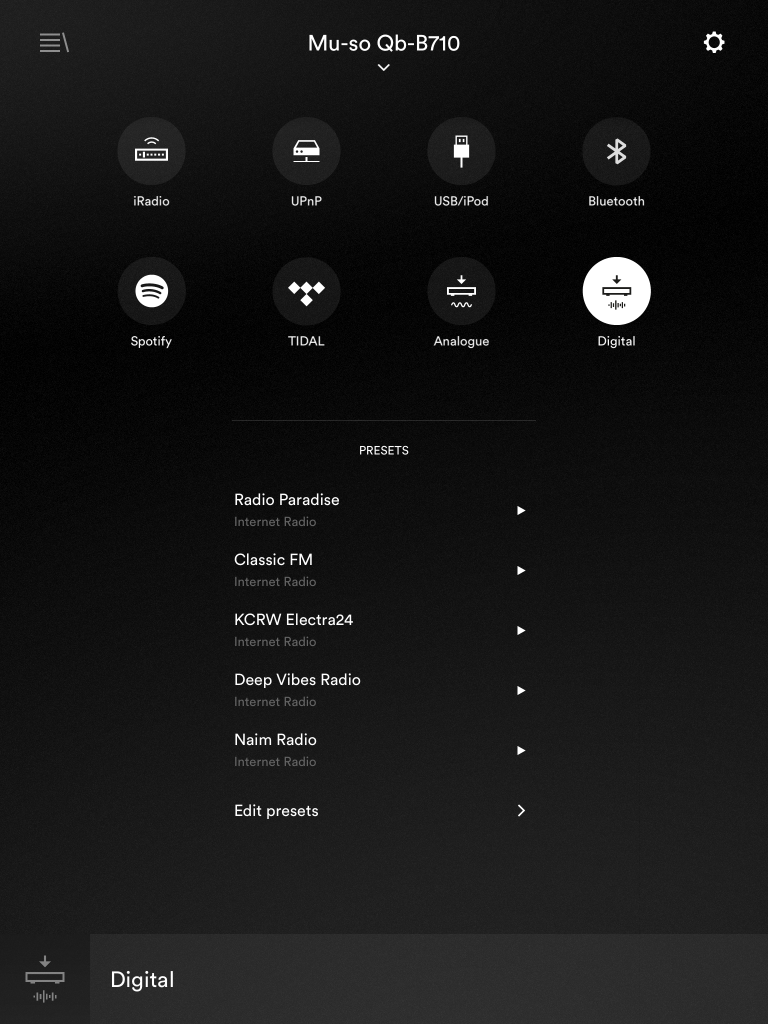
From here you can also save and choose between selected pre-set radio stations, for quick and convenient high fidelity listening.
