


Ryan and I were recently invited to Henley Audio in Oxford for a tour around the facility as well as some informative training on some of the brands we deal with in the store. Towards the end of the day, we also had the opportunity to rebuild an Essential III from Project from putting the platter and belt on to re-fitting the cartridge and aligning it. I will be going into more detail on this build later on in this post.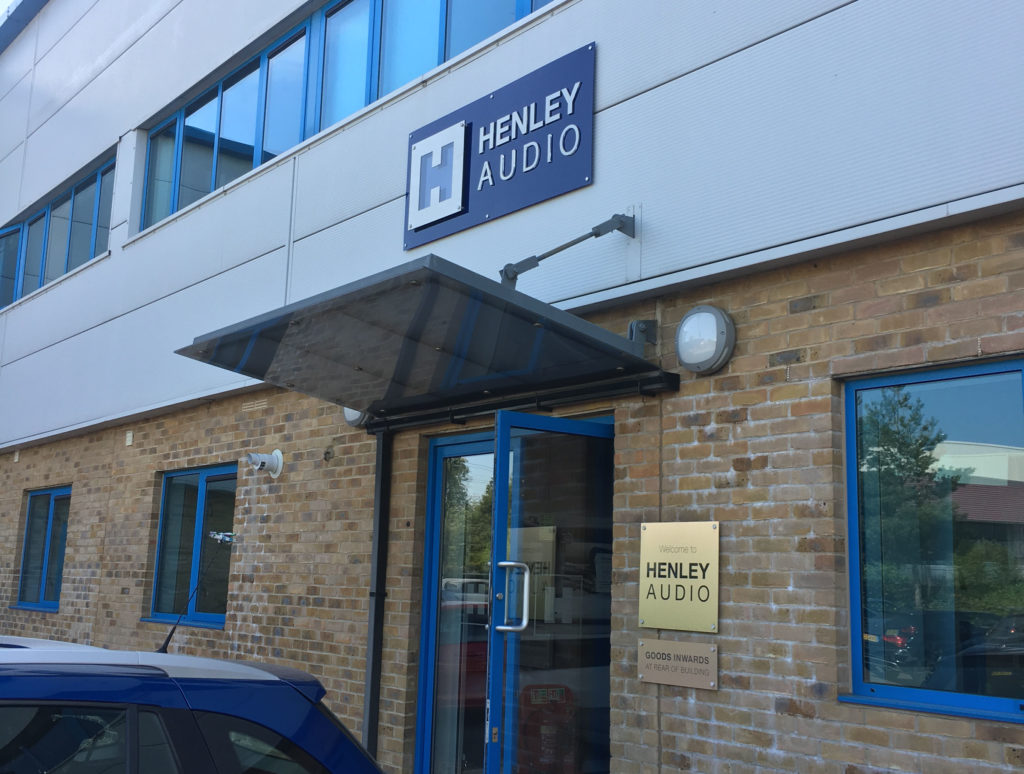
Henley Audio is the UK distributor for a large number of well-regarded hifi brands including, Project, Ortofon, Box Design, Unison Research, Lehmann Audio, Musical Fidelity, Spin Clean and Art Vinyl. Within these brands, they sell turntables, cartridges, amplifiers, cd-players, streamers, speakers and vinyl cleaning products and equipment - covering all areas of hifi.
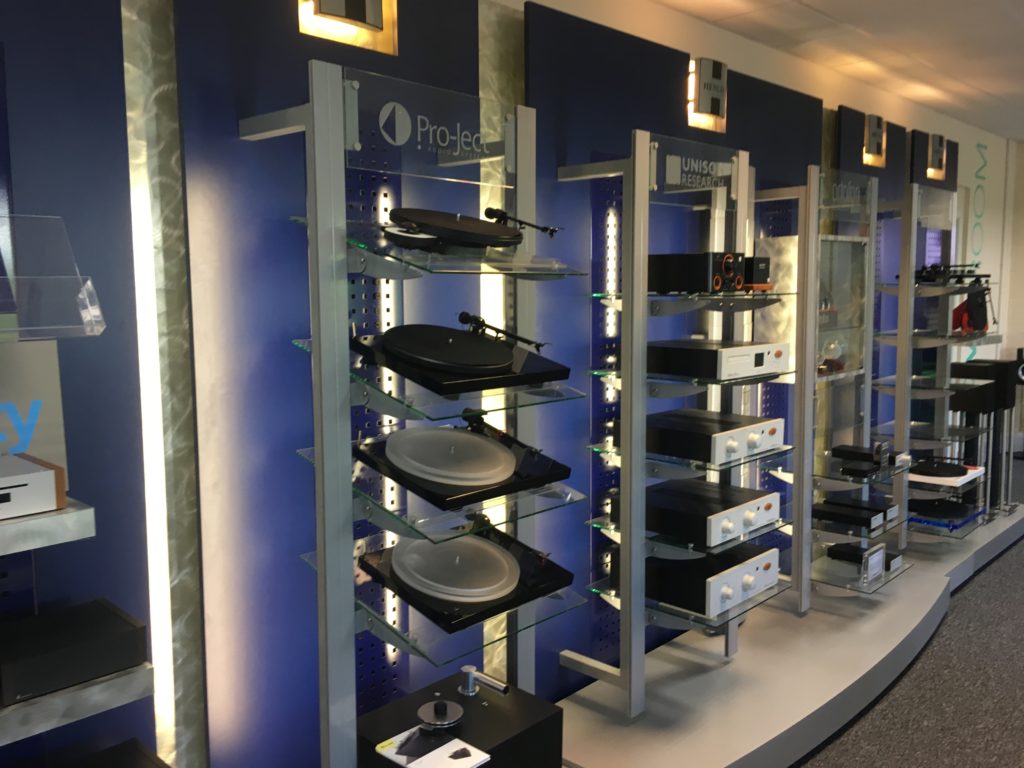
The day started with a look through their showroom of all of the different brands they distribute within the UK. On display were a large range of Project turntables from their starting range with the Primary E at £175 and they went up to the Project 175th Anniversary Edition which retails for £6,500.
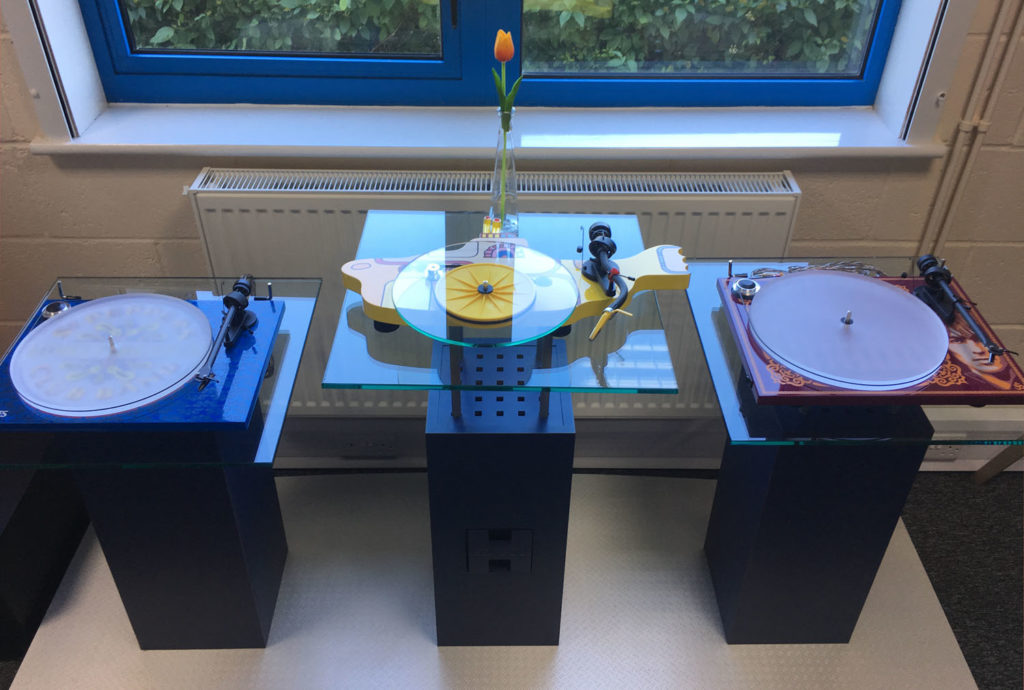
Also on display were Project's collaboration with The Beatles. Starting from left to right is the 'Essential III Sgt Pepper Edition, then in the middle is the latest, Yellow Submarine Edition and finally on the right is the Essential II George Harrison Edition.
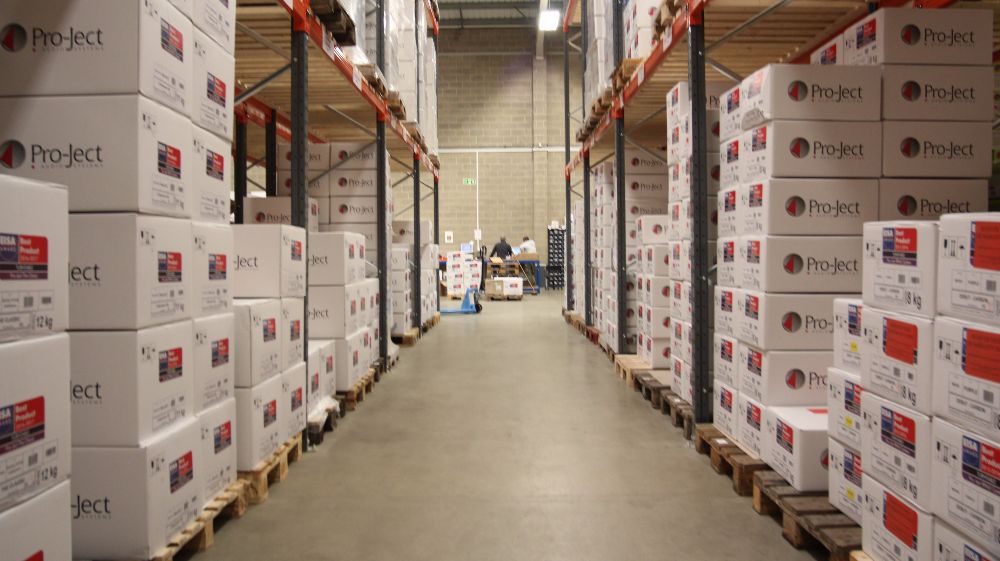
We then had a quick tour of the warehouse where all of the stock of all of the different brands are housed. Typically, if we ever need to order an item from Henley Audio it will usually be in stock and with us within a few days which is fantastic from our side and especially from the customer.
Also within the warehouse was their service department where the majority of products which come back for repairs are fixed. Their expert advice and knowledge and essential when it comes to complicated repairs and questions.
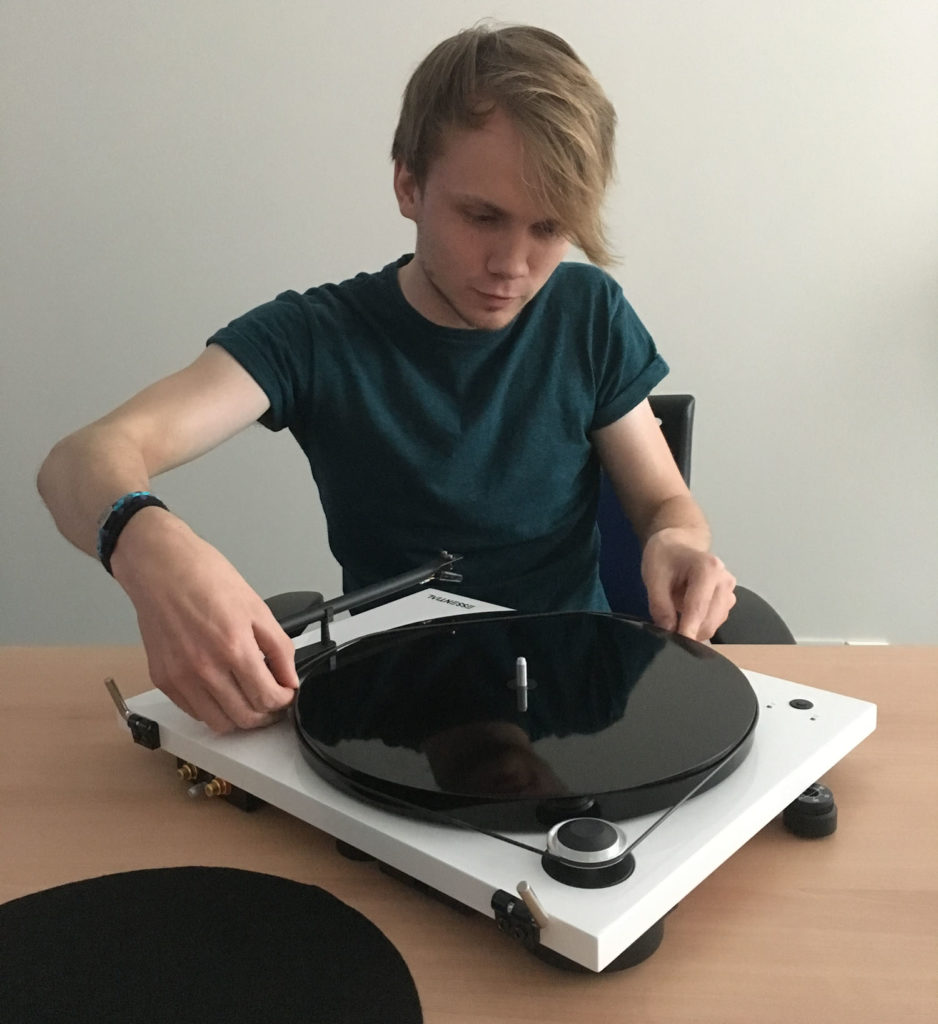
After the tour around the unit, we then proceeded to do some practical training which consisted of us constructing a Project Essential III from out of the box as a customer would have received it.
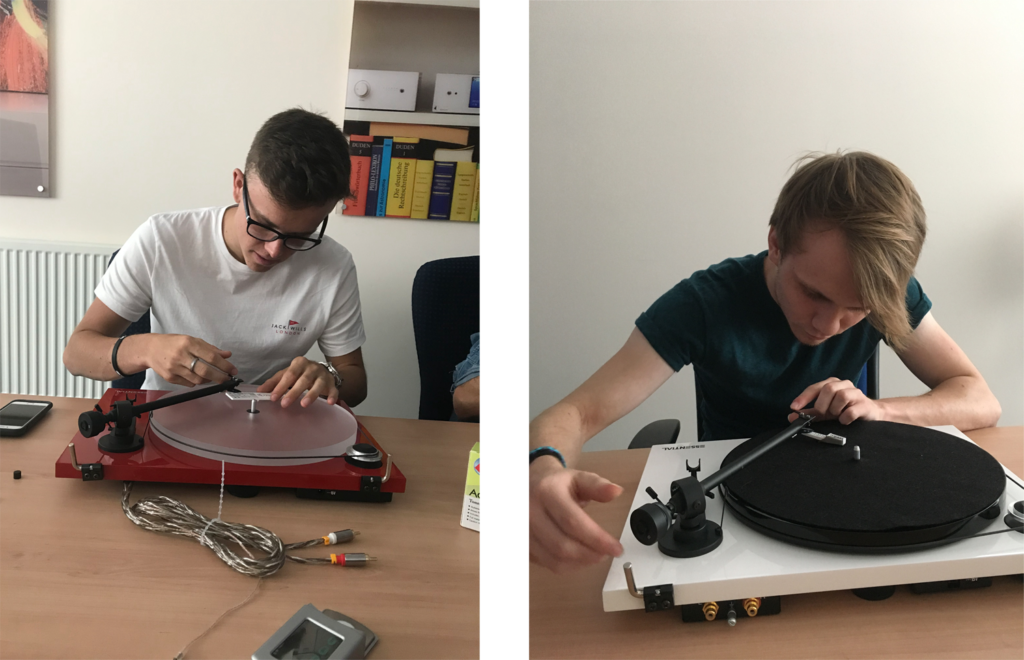
Ryan on the left setting up the turntable belt. Cameron on the right adjusting the counterweight.
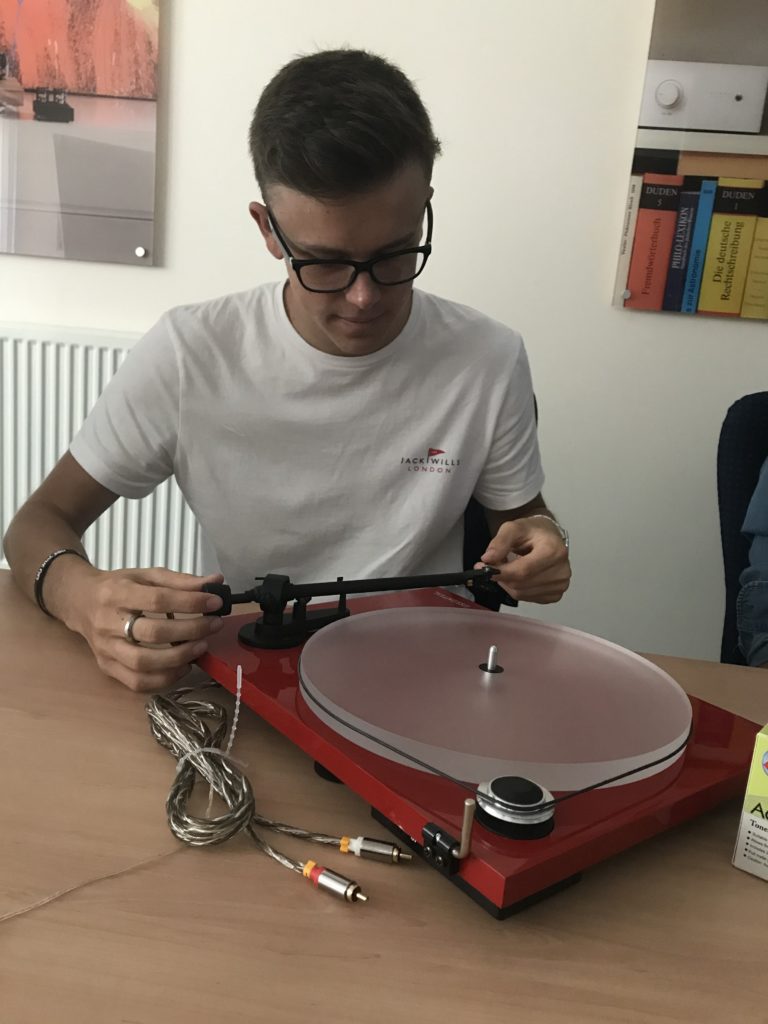
We started with the platter and the belt, which proved harder than Ryan expected to get the belt to stay on! After they were in place, we then moved on to the counterweight on the back of the tonearm, moving the weight up and down the arm to make sure it is floating. Once we got the tonearm floating, the next step was to place the anti-skate weight on the back of the tonearm.
We then checked to see of the tonearm was still floating, and if it was we could then proceed to check the tracking force weight. There are a few ways of checking this either by using Project's Measure-IT 2 for the most accurate and efficient results. Although you can use the Tracking Force Gauge which comes supplied with some Pro-Ject turntables you can use to check the balance, though it is a lot more time consuming and requires a lot of patience!
Once the arm was fully balanced and we were confident with the setup. We were then tasked to remove the cartridge and then replace it and then to align it. We would then test ourselves to see if we could correctly balance the tonearm with the newly fitted cartridge.
We started off by carefully disconnecting the four pins at the back of the cartridge. Once they were off, we could then proceed to unscrew the mounting screws to remove the cartridge from the headshell.
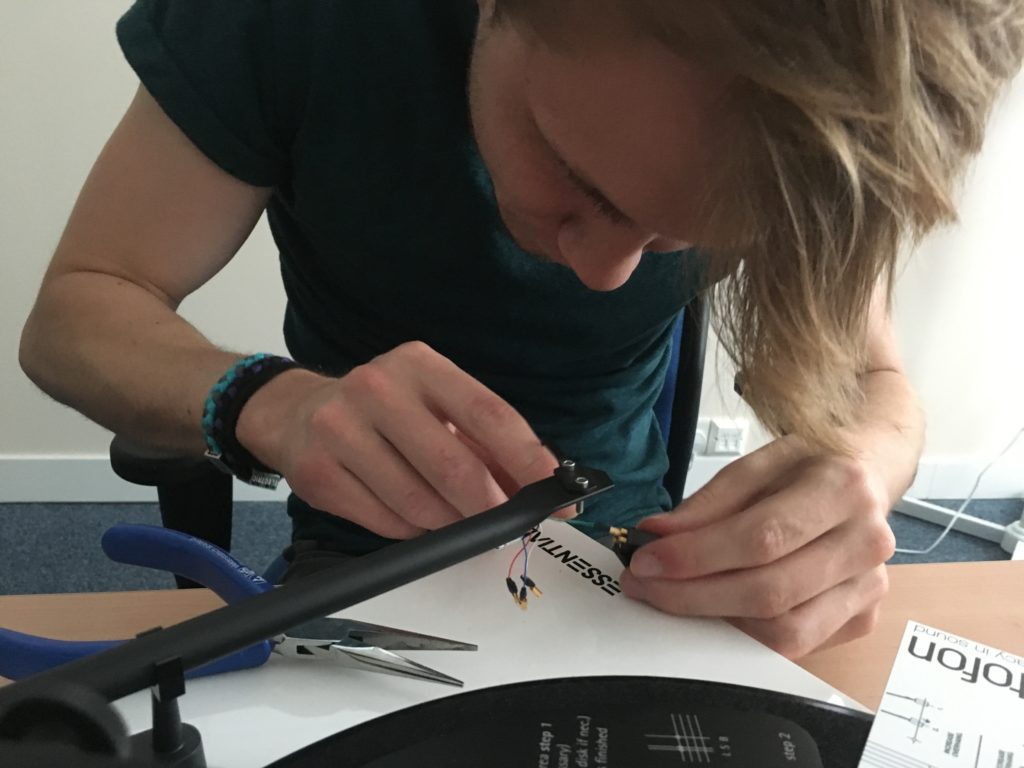
When it was all disconnected, we could then proceed to refit the cartridge. Once it was on and the pins were re-connected, we then needed to align it. Using the Dr Feickert MkII protractor we could align it perfectly to Projects specifications. As a final test to see if we were successful, we plugged our turntables into a system and played a piece of vinyl. Thankfully both Ryan's and my turntables were fully functioning.
As Ryan has only been with us for a few months, this was fantastic training for him (and for me) as we can both now confidently change and align a cartridge.